Heartbox: An IoT Present for your Significant Other
iot This past Christmas I set out to make a DIY “lovebox” as a gift. These devices come in pairs - each device at a different location. When one person performs some trigger, the peer device lights up. It’s a fun and passive way to let your partner know you’re thinking of them.
I thought it would be fun (and way cheaper!) to try and build the product myself. Below are the steps and associated code if you’d like to create one yourself!
Parts
- 2x ESP8266 boards (I used these) because they were a good size and required minimal soldering.
- LEDs to solder onto the boards (I used red)
- Some kind of transparent film to place over the hearts (the material I had wasn’t great, open to suggestions!)
- 3D printed box (see below)
- Soldering iron
Quickstart
If you to try the project for yourself:
- Pull
ghcr.io/joshspicer/loveboxand start the docker container - Update the
variables.hfile, setting the first unit asme=1andpeer=2(and vice versa for the second box) - Flash sketch.ino to your boards that have an LED soldered onto the correct pin.
Hardware and 3D Model
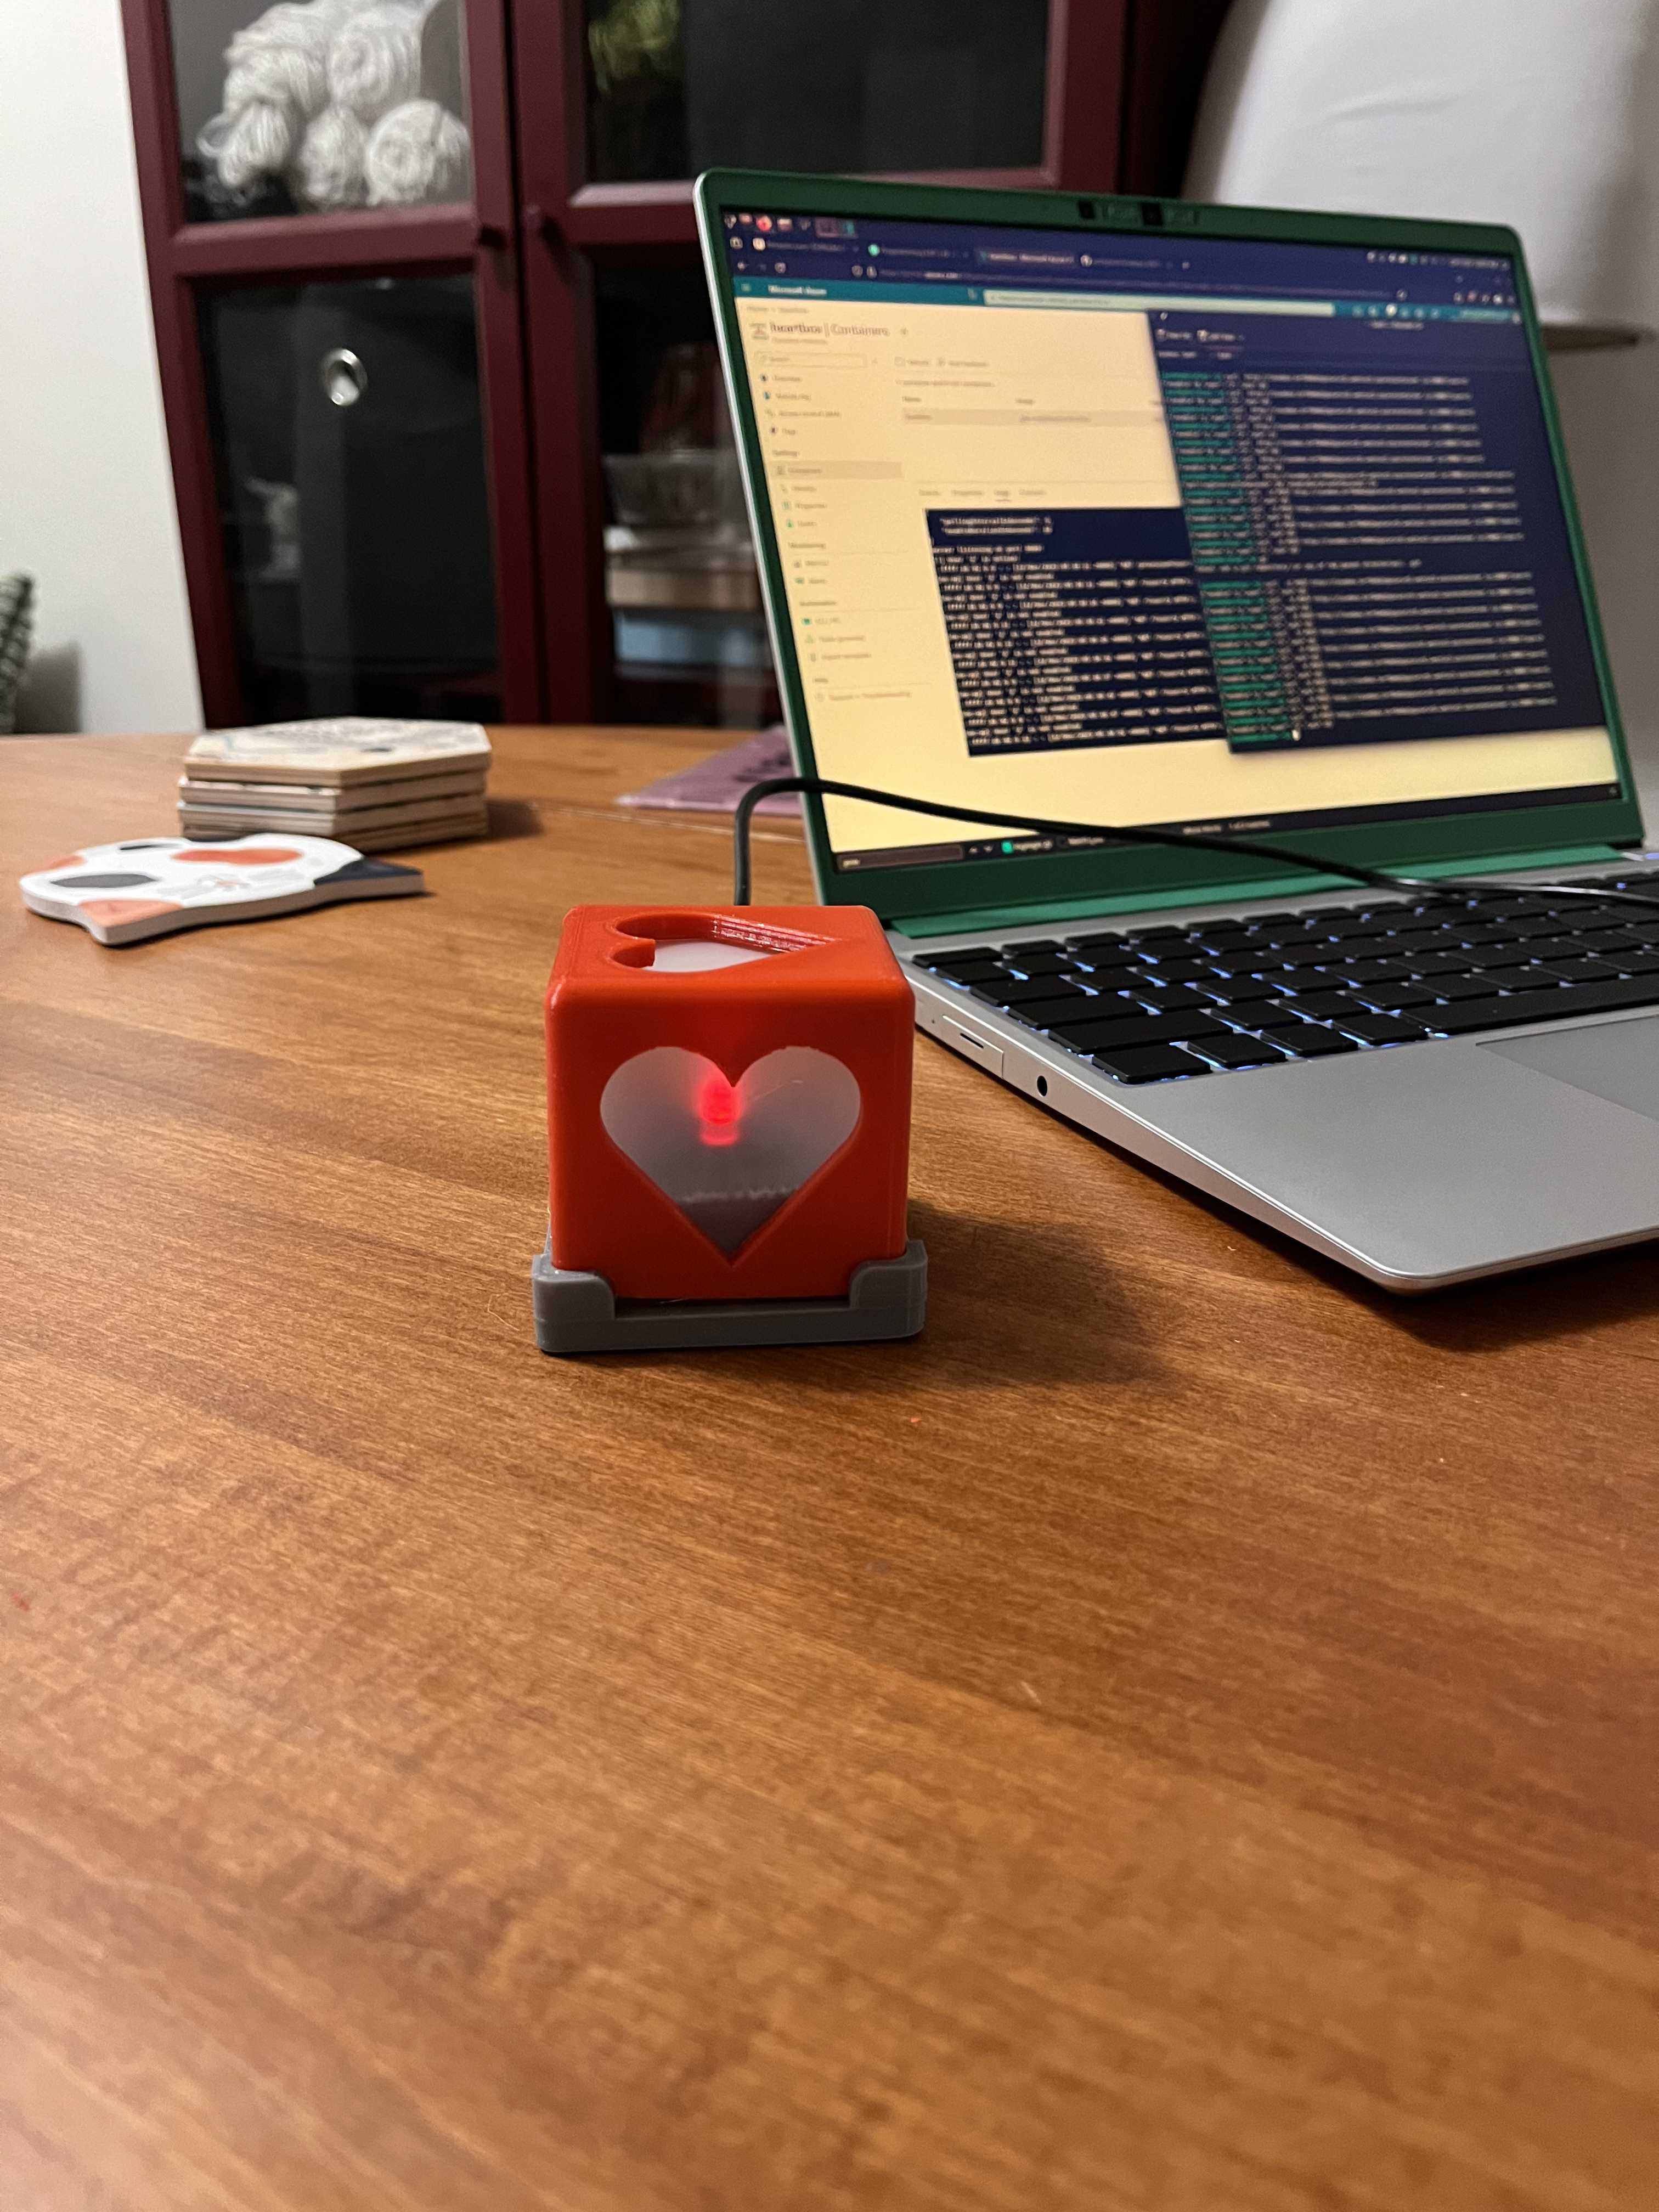
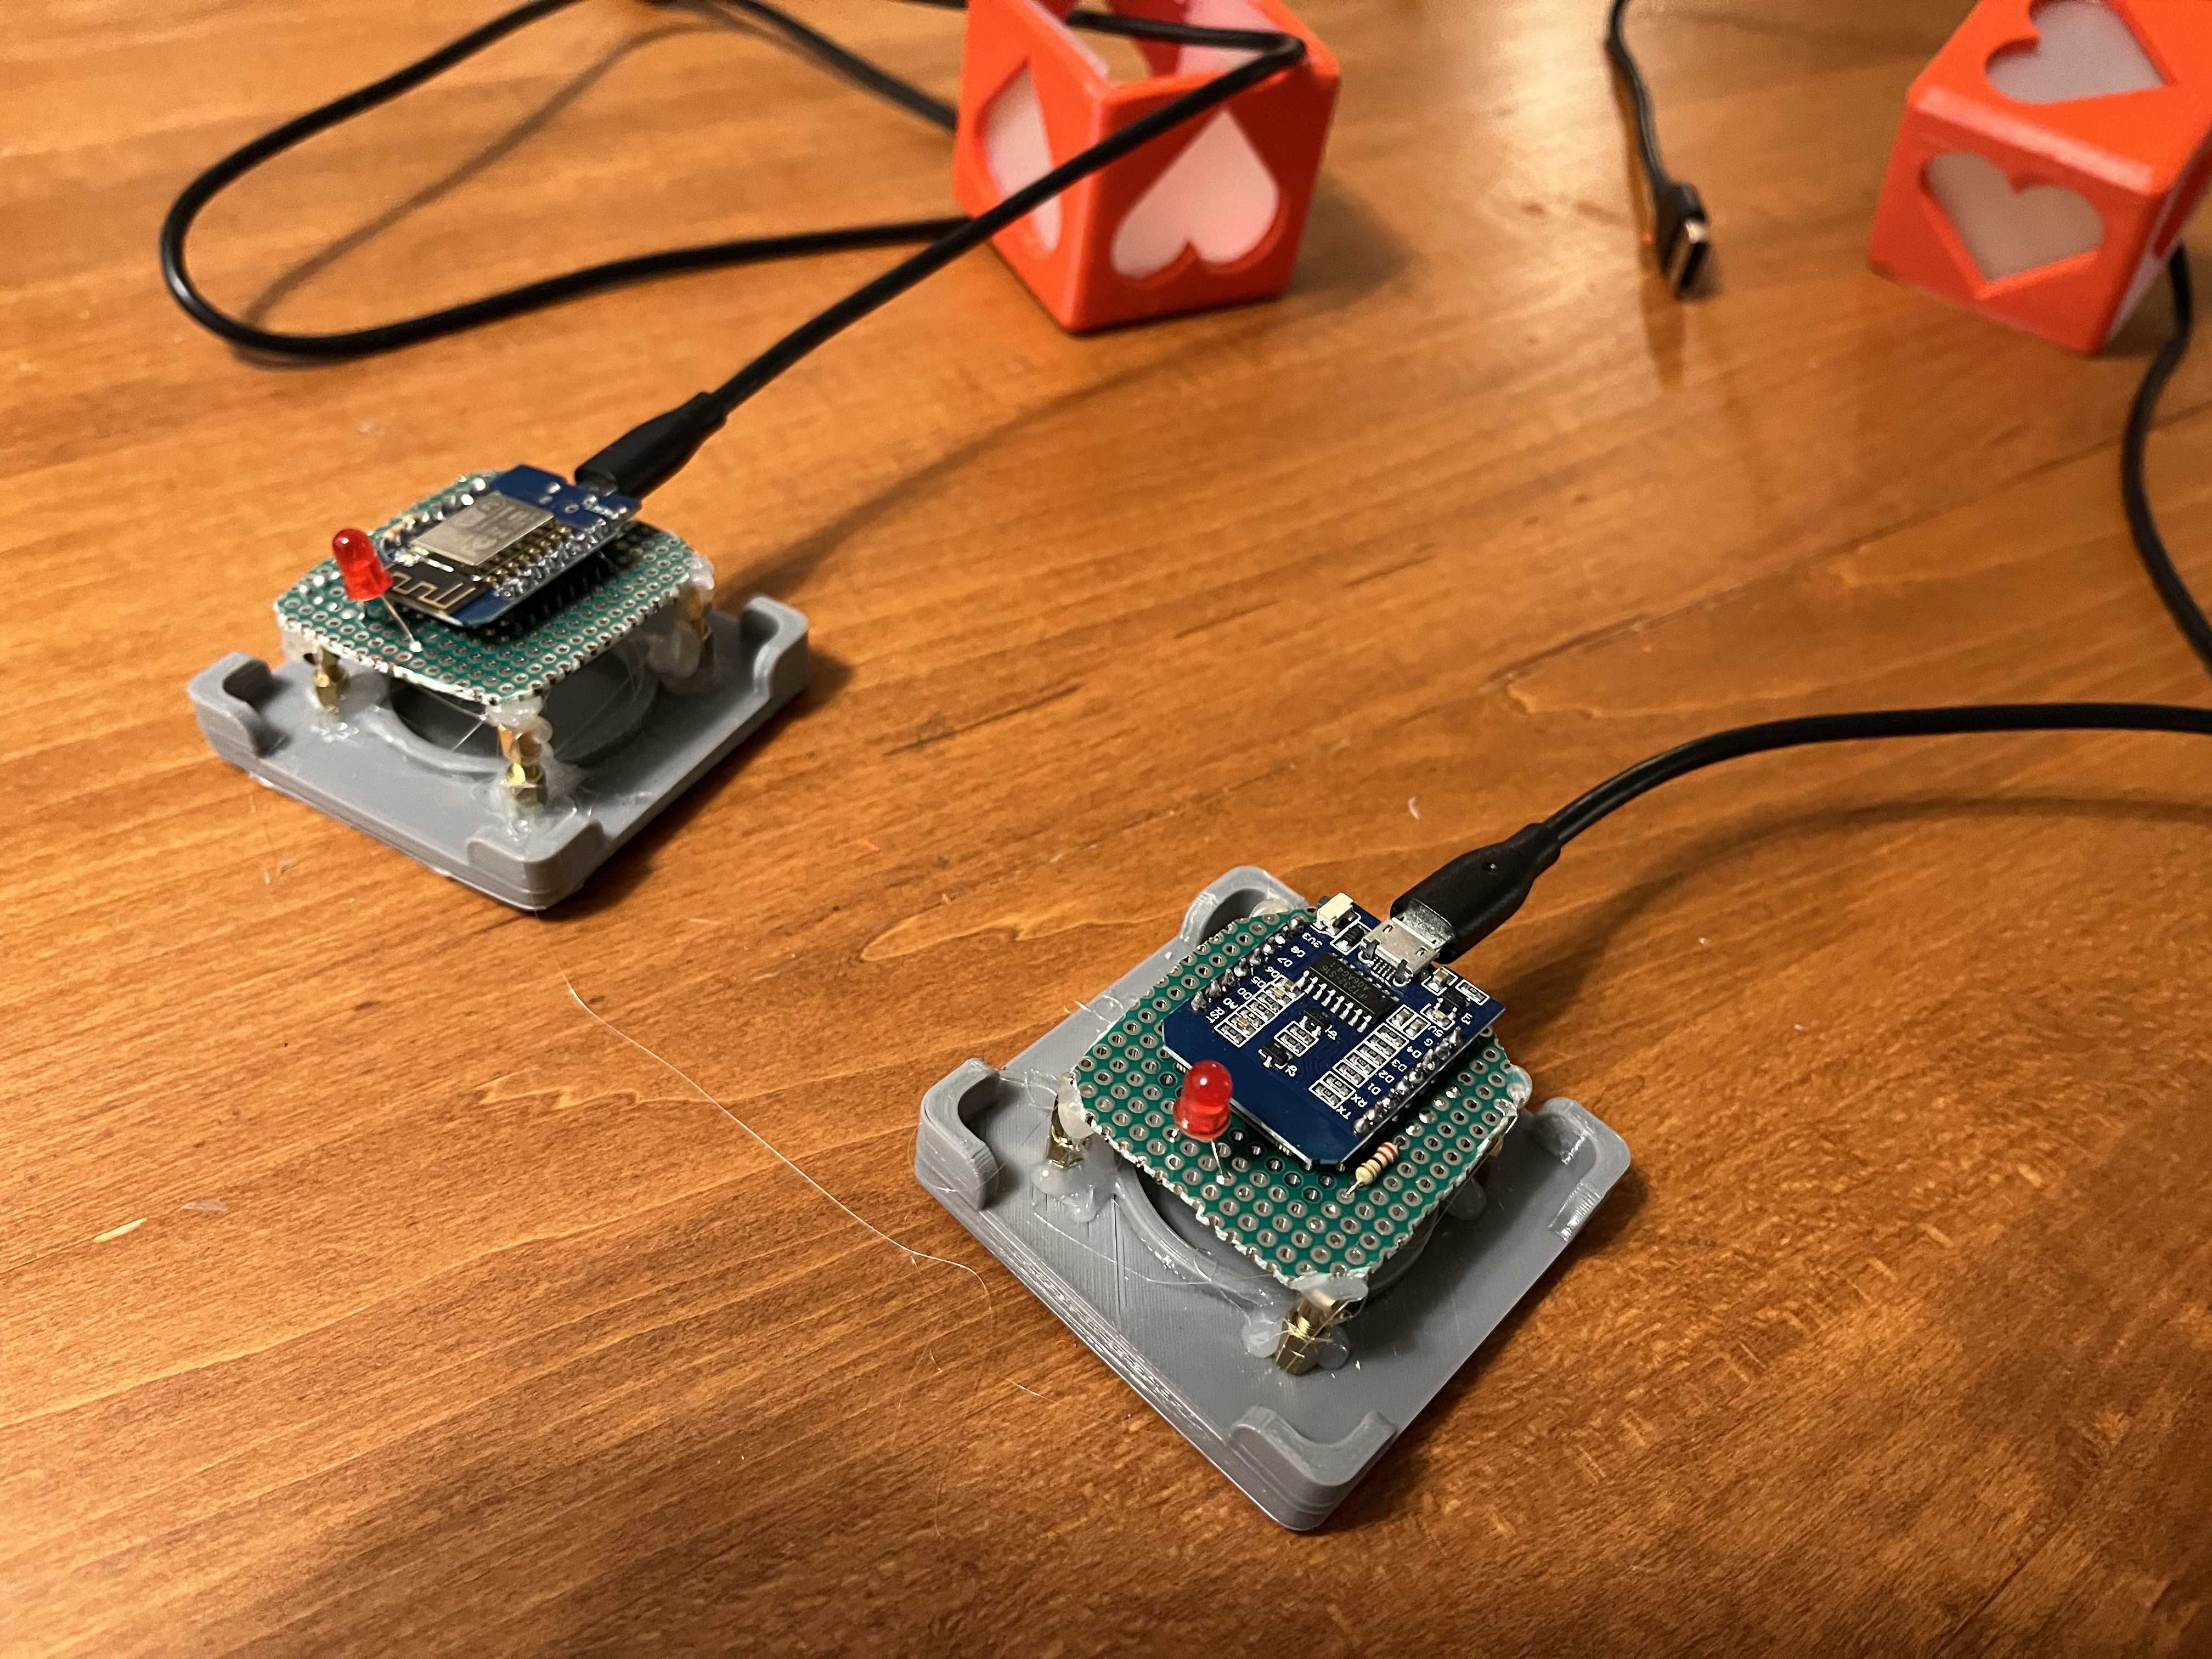
For the 3D model, I had in mind a “companion cube” from Portal. I found a model by mooraayeelz online that fit the bill perfectly! I printed two on my Ender 3 with default PLA settings. I printed the base separately in a different color for some contrast.
As shown in the parts list, I used ESP8266 boards. I soldered the LEDs to GPIO pin 2 on the boards with a resistor appropriate for the LEDs I had on hand. I used a hot glue gun and some screws to attach things in place. I also snaked through a USB cable that sneaks out the back of the box for power.
Software
Each box is assigned an identifier (1 or 2) and a peer (the other box). The boxes are programmed to listen for a message from the peer and turn on the LED when a message is received.
#include <Arduino.h>

const char *ssid = "<TODO>";
const char *password = "<TODO>";
String me = "1";
String peer = "2";
String baseAddress = "http://<TODO>:3000";

String getMeAddress = baseAddress + "/?user=" + me;
String provisionMeAddress = baseAddress + "/provision?user=" + me;
String postPeerAddress = baseAddress + "/?user=" + peer;
I wrote a simple node server to run in the cloud and coordinate the “on” and “off” states. Each device is programmed to retrieve configuration at /provision startup from the coordination server with its id.
The simple state machine is maintained in-memory:
if (userObj.enable === 1 && userObj.ack === 0) {
    console.log(`[+] User '${userObj.id}' ack. Queuing disable for '${enableDurationInSeconds}' seconds.`);
    userObj.ack = 1;
    setTimeout(() => {
        console.log(`[*] Disabling user ${userObj.id}`)
        userObj.enable = 0;
        userObj.ack = 0;
    }, enableDurationInSeconds * 1000);
} else if (userObj.enable === 1 && userObj.ack === 1) {
    console.log(`[no-op] User '${userObj.id}' is already active.`)
} else {
    console.log(`[no-op] User '${userObj.id}' is not enabled.`);
}
Simple, yet effective! I’ve also provided commented sections in the sketch where a Basic authentication header can be added to the HTTP requests. For example, running these services in an Azure Function and hardcoding in the shared secret would be a good way to secure the endpoints.
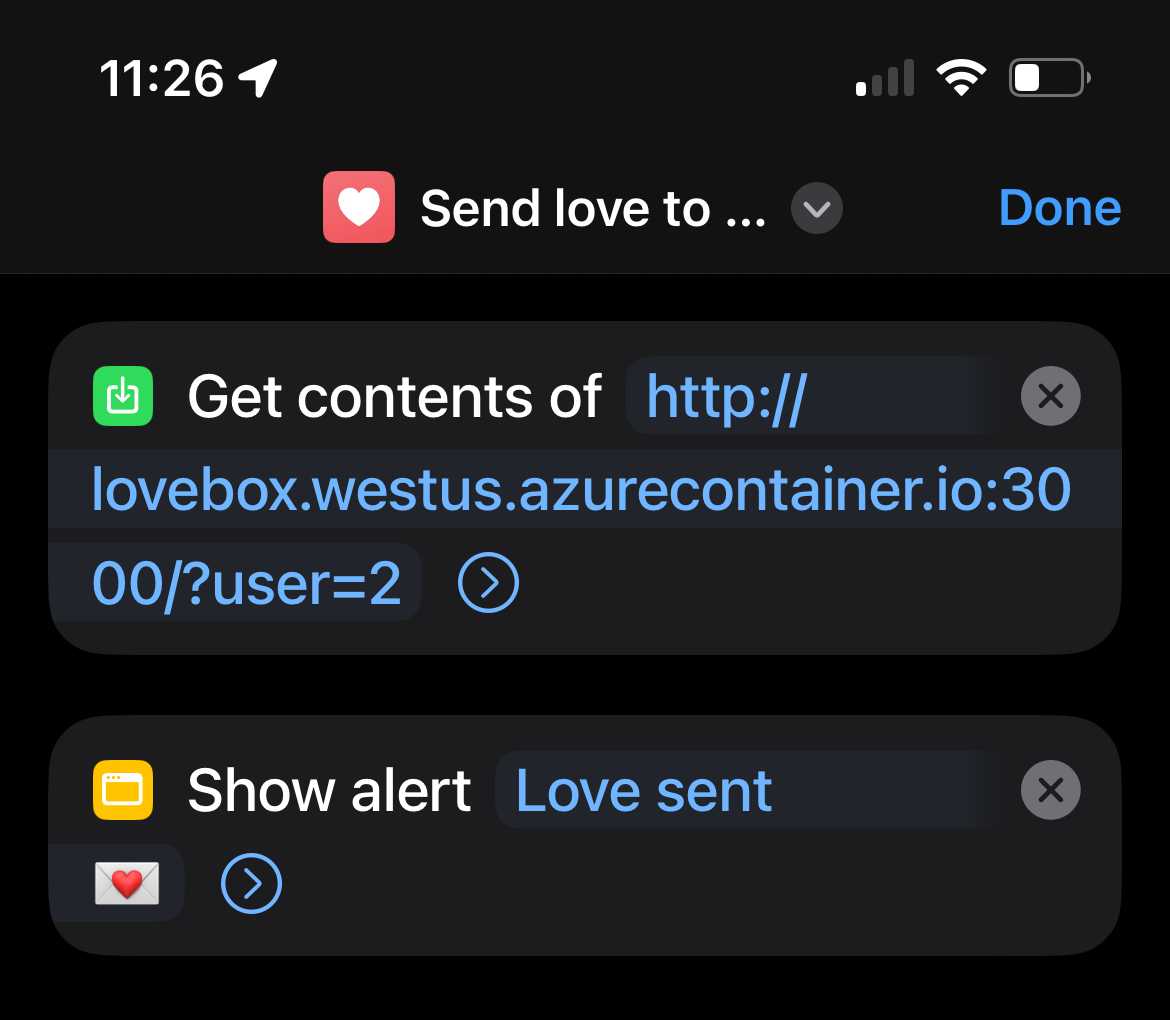
Triggering with a Siri Shortcut
I wanted to be able to trigger the box with a Siri Shortcut to trigger the partner’s device! I then added the shortcut to my home screen and added it to my home screen. These are easily shared though text - a great way to share with the gift’s recipient!
Conclusion
The full source code can be found at https://github.com/joshspicer/lovebox. Thanks for reading!
Have a comment? Let me know
This post helpful? Buy me a coffee!